Uncategorized
How To Grow Kale From Seed
The following material is an excerpt from Recipes For Reciprocity which provides info on how to cultivate kale from seed, companion plant beneficial ally crops along side it, tend the crop, harvest it and then save seed from the second year plants (allowing one to perpetuate the cycle of abundance).
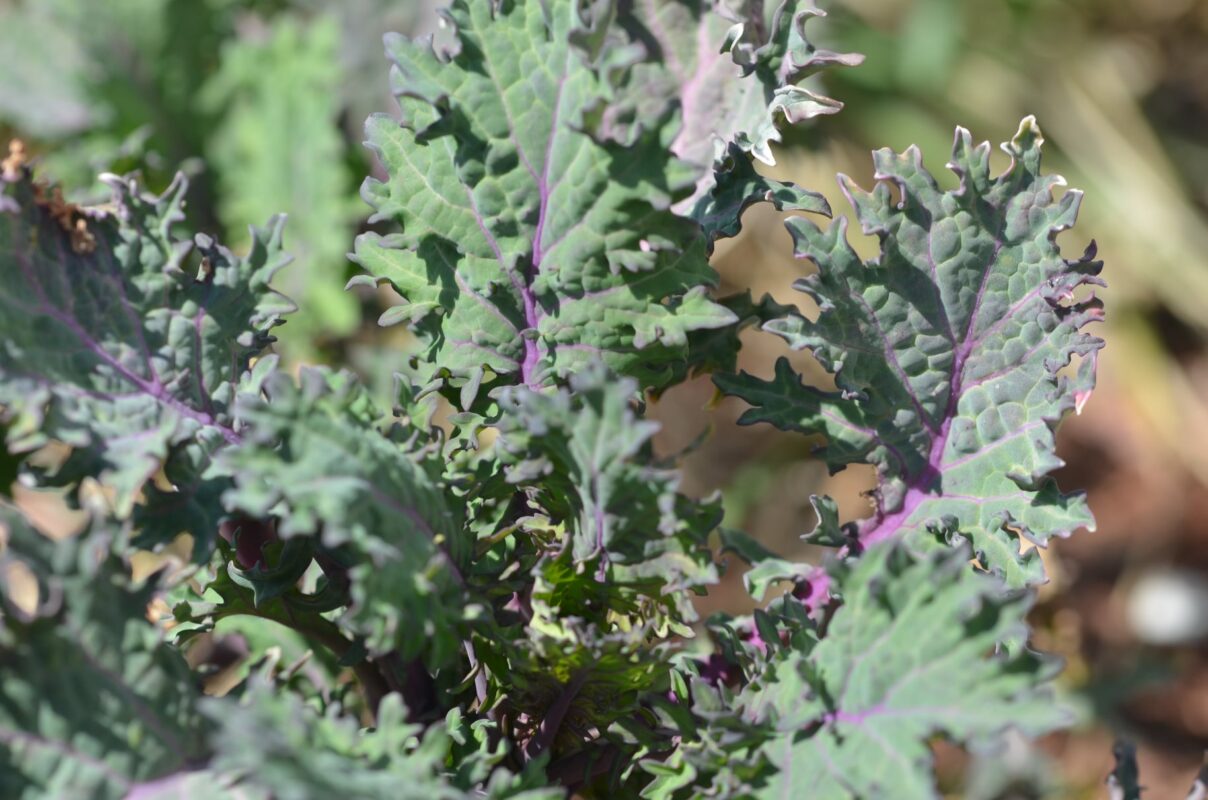
With so many benefits, kale is a useful addition to anyone’s kitchen. Fortunately, the plant is also relatively simple to grow and can adapt to climate and soil conditions on most permaculture plots. In fact, kale is arguably the hardiest member of the plant family it belongs to – the brassicas, along with the likes of broccoli, cabbage and collards. Our 10th generation Red Russian Kale (which you may have received seeds for if you are reading this) is capable of withstanding at least -20°C (or -4°F) and still bouncing back to continue growing.
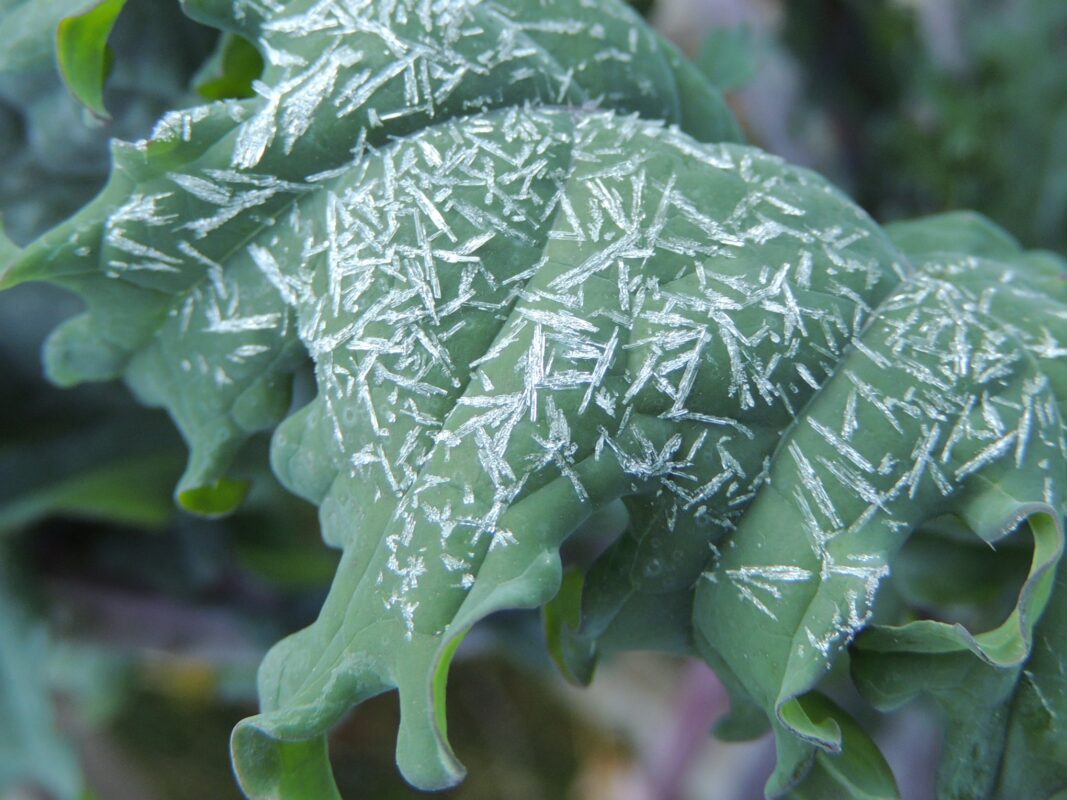
Planting the Seeds and Tending the Plants:
Kale is usually planted as a winter or spring vegetable, for which you want to plant it out so that it matures in the cooler or cold weather. Exactly when this is will depend on the climatic conditions in your location, but will typically be sometime between March and April for spring and July and September for fall/winter, with an earlier planting time for areas where winter comes early. You can plant earlier for a fall harvest, although the flavor of kale is enhanced by exposure to winter. You can also grow it in the summer but in the hotter weather the leaves become more bitter (though they are still very nutritious and fully edible). I like to plant seeds directly into the soil, often using a ‘throw sow’ and lightly raking them in to an intended garden bed (as I find self seeded plants develop into more vigorous and robust adult plants). Though starting seeds off in the greenhouse or indoors in pots until they are 18 inches or so high can mean a faster rate of establishing plants in the garden. Most people plant individual specimens approximately 12 inches from each other.
Once established if you let kale go through till the next season it will come back and provide delicious smaller leaves before setting buds and blossoming with little yellow flowers. These little flower buds and the flowers them selves are edible and I like to constantly pinch off the in mature flower buds from the top of second year kale plants and add to salads (they have a nice nutty broccoli like flavor). If you allow the flowers to bloom they will likely be pollinated and set little seed pods. I allow these seed pods to mature on a few plants each year so that the kale plants can self-seed for next year.
Companion planting with Kale:
As companions, kale favors beets, onions, broccoli, amaranth, radishes, celery, potatoes, dill, chamomile, sage, thyme, mint, pennyroyal, rosemary, lavender (Chamomile – Is thought to improve the flavor of cabbages and kales). If you don’t have much garden space, you can grow kale in pots; just treat the soil as you would for specimens in garden beds, and make sure the plant has around 6 square inches of space to grow into. Kale favors a slightly acidic soil, ideally with a pH of between 5.5 and 6.8. If your soil is on the alkaline side, adding wood chips, sawdust from untreated wood or organic sulfur will help reduce it. Keeping the soil well nourished with organic compost will also help create good conditions for kale to grow in.
History of Kale: Kale originated in the eastern Mediterranean and Asia Minor, where it was cultivated for food beginning around 2000 BC. Curly-leaved varieties of cabbage already existed along with flat-leaved varieties in Greece in the 4th century BC. These forms, which were referred to by the Romans as Sabellian kale, are considered to be the ancestors of modern kales.
The earliest record of cabbages in western Europe is of hard-heading cabbage in the 13th century. Records in 14th-century England distinguish between hard-heading cabbage and loose-leaf kale. Russian kale was introduced into Canada, and then into the United States, by Russian traders in the 19th century.
Kale can be eaten at all stages of growth (from first year seeds sprouting to 2nd year
plant blossoms and seed pods). Kale is a cold-hardy vegetable that is best planted in early spring or autumn. Cool weather brings out the sweet, nutty flavor of this highly nutritious green.
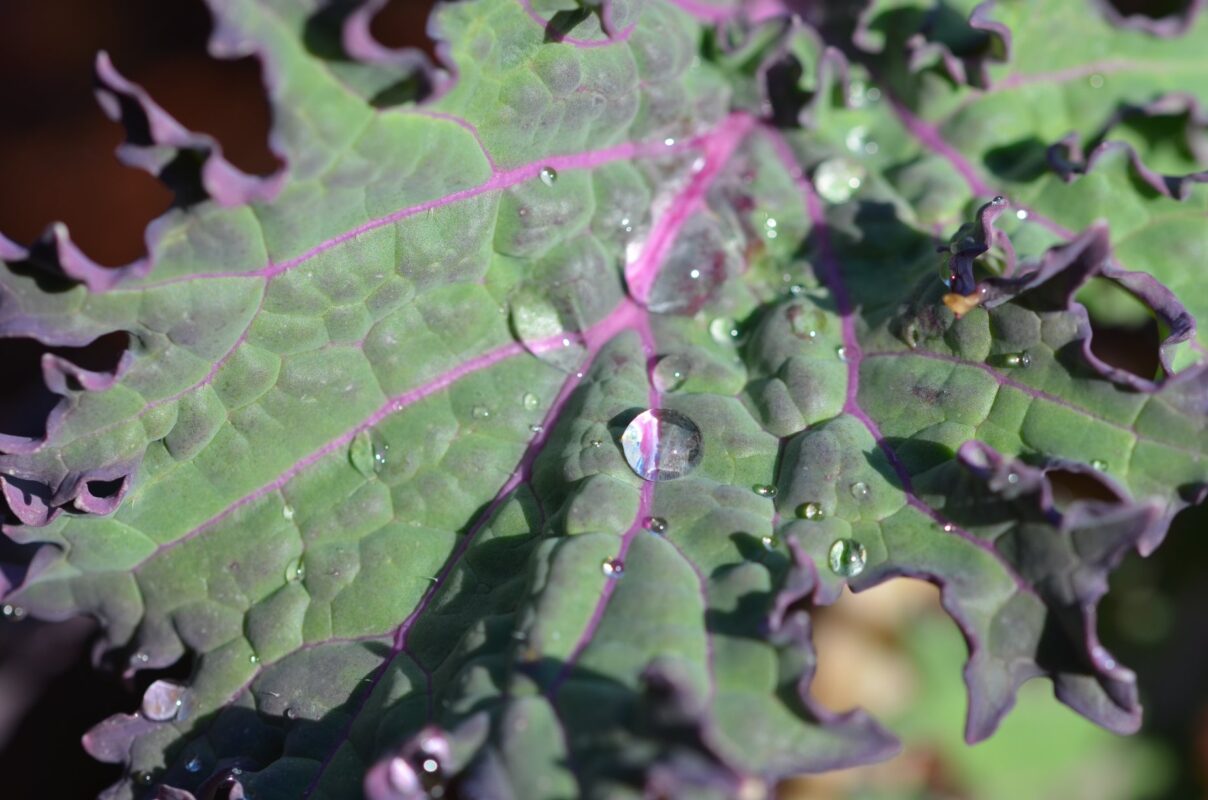
In your first year growing kale you will most likely want to wait until the leaves get at least the size of your hand before harvesting. If you harvest the large most outer leaves (leaving the new growth pushing up from the core of the plant intact) you can have a continual supply of leaves from about two months after planting seeds until your plants get buried in deep snow.
Once kale is established and comes back the second year (pushing out small leaves and then stalks with blossom buds, followed by blossoms opening and then seed pods forming) it can readily seed itself in place and produce hundreds of seedlings the following year in good soil conditions. Once a ‘self seeding kale forest’ is established you will have so much kale you can harvest it from the micro greens to baby greens stages and have delicious snacks, salad or smoothie ingredients from early spring onward.
Harvesting Kale Sprouts: When you have enough seed to save for not only yourself (and for sharing with others) but also for sprouting you can grow an ultra nutrient dense food any time of year inside.
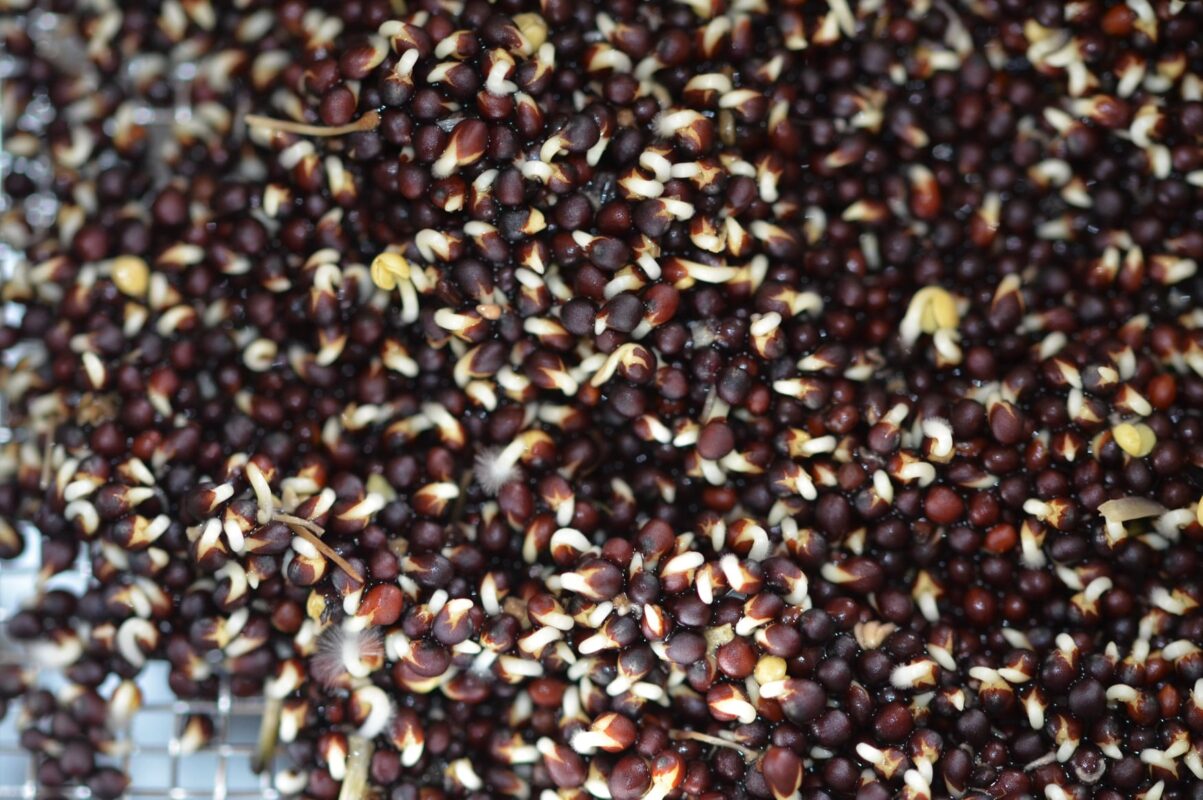
If your second year plants have dropped lots of seeds around the base and you want to thin them while stacking functions you can pluck them from the ground (or cut many with scissors) and have a super delicious and nutritious snack at the same time.
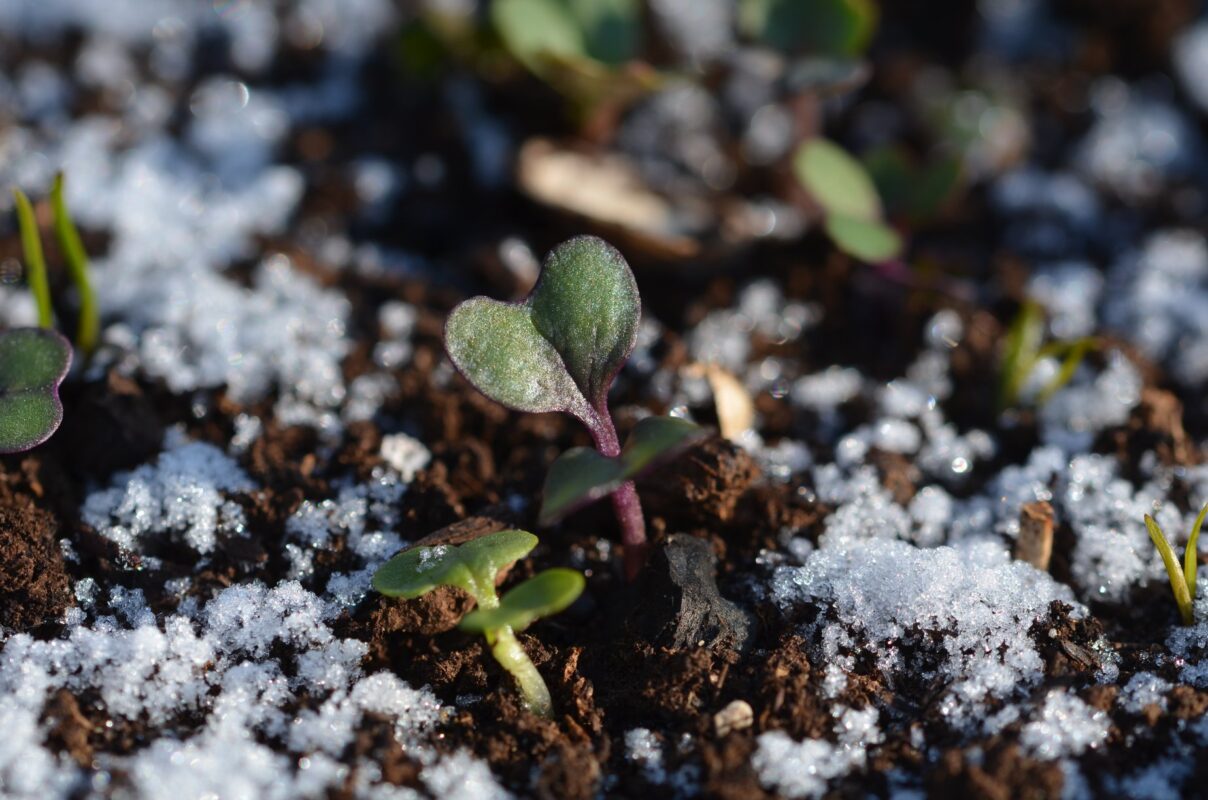
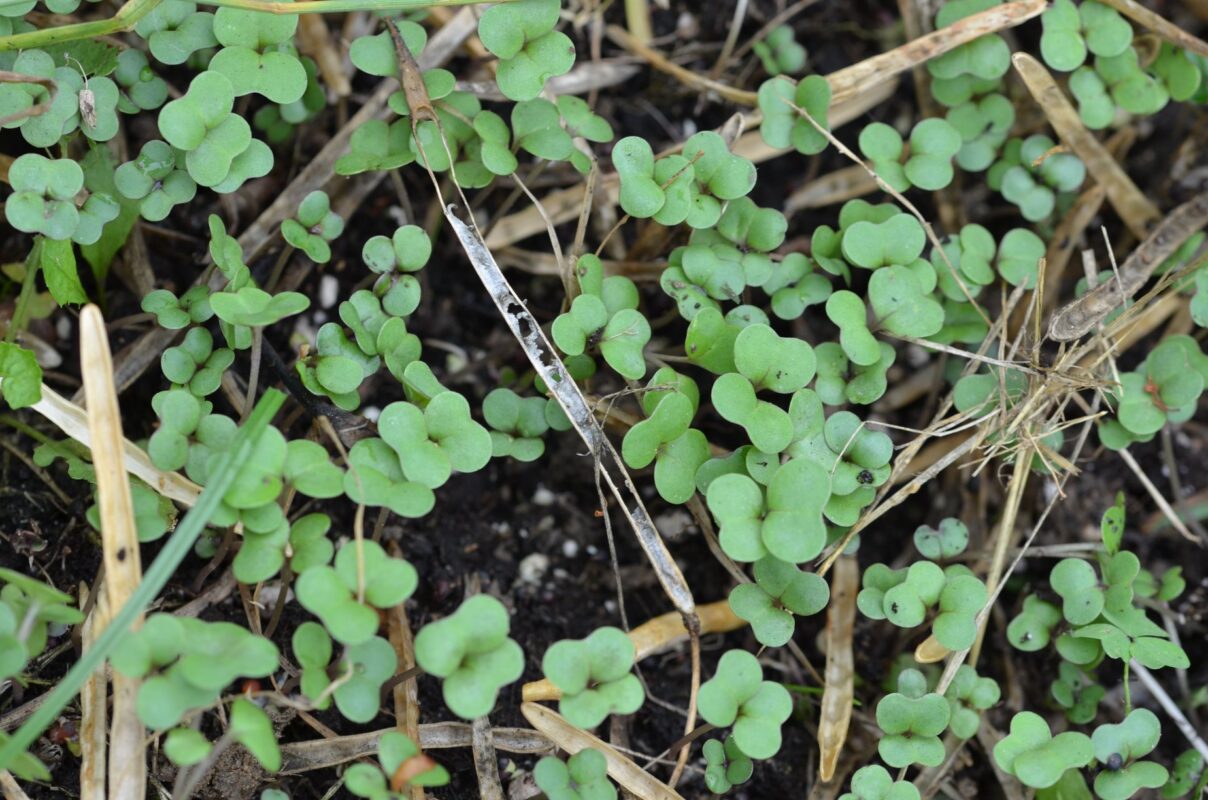
How to harvest Kale Microgreens: Harvesting means cutting the stem and taking the stem and the leaves together; you can eat both parts.
How to Harvest Kale Baby Greens: If you’re looking to grow baby kale, plants will be ready to pick and enjoy 25 to 30 days after they are sown.
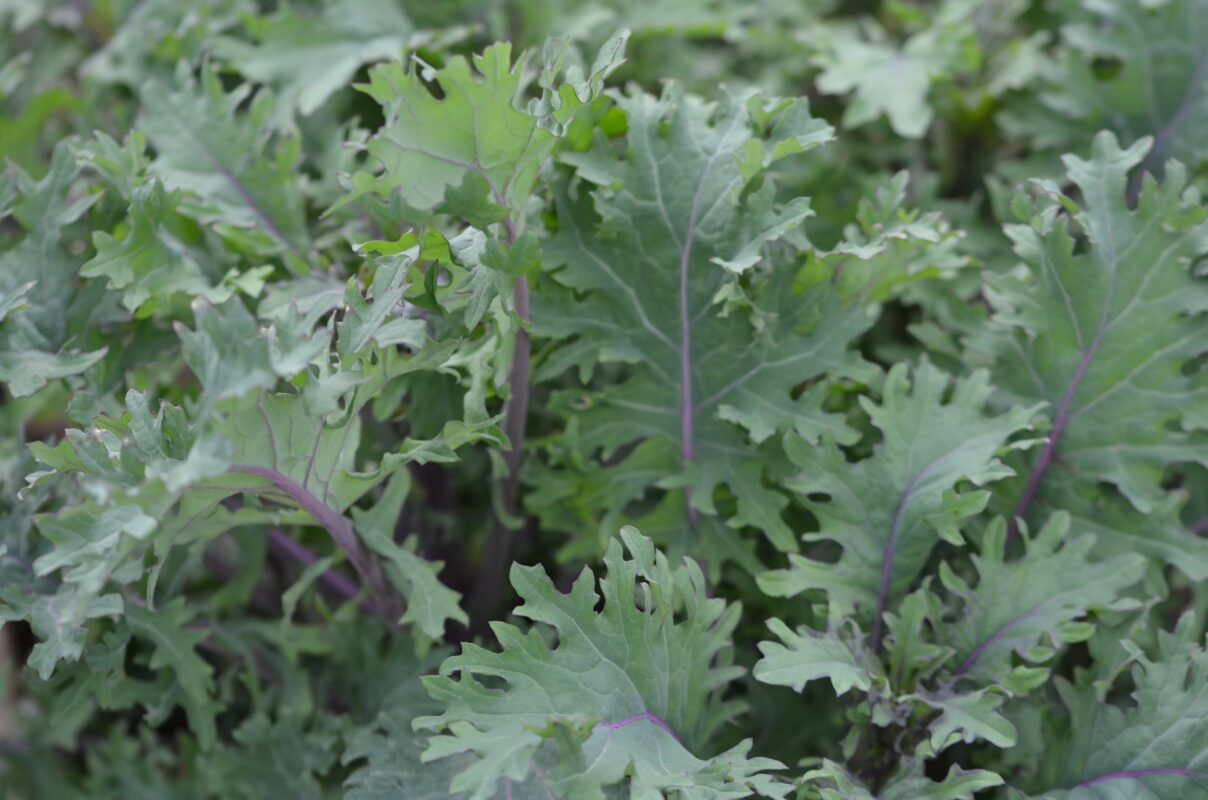
The harvest period usually occurs once in late spring or early summer, and again in autumn.
It is worth noting there isn’t a perfect time to pick this green. If you like smaller leaves, collect them earlier when they are younger.
How to Harvest Mature Kale: All varieties of this vegetable are harvested in the same way.
For mature plants, grasp the stem of a mature outer leaf at the base of the main stalk and pull down and out, away from the center, until it breaks. Repeat this process to pick all the greens you want.
Make sure to leave at least five central leaves on the plant so it can continue to photosynthesize and produce new growth.
Never pick the innermost portion with the smallest leaves, as that’s where new growth originates.
If your soil is soft or your plants are newly established, you can use a knife or scissors instead of your hands. This prevents you from pulling the whole plant out of the ground or snapping the main stalk.
If you see discolored or heavily insect-eaten leaves, make sure to remove these and add them to the compost pile. This allows the plant to put its energy into new and healthy growth. I also sometimes strip the leaves with heavy insect damage from the rigid central stalk (that is unaffected by insects) wash thoroughly and then dice for stir fries or add whole to enhance veggie broths.
Second year kale leaves are delicious in early spring and if you keep pinching off the forming flower buds you can get a steady flow of delicious perfect salad/sandwich sized leaves until mid summer (this requires vigilance as each time you pinch a flower head off two more come up in its place and once it flowers leaves begin to shut down).
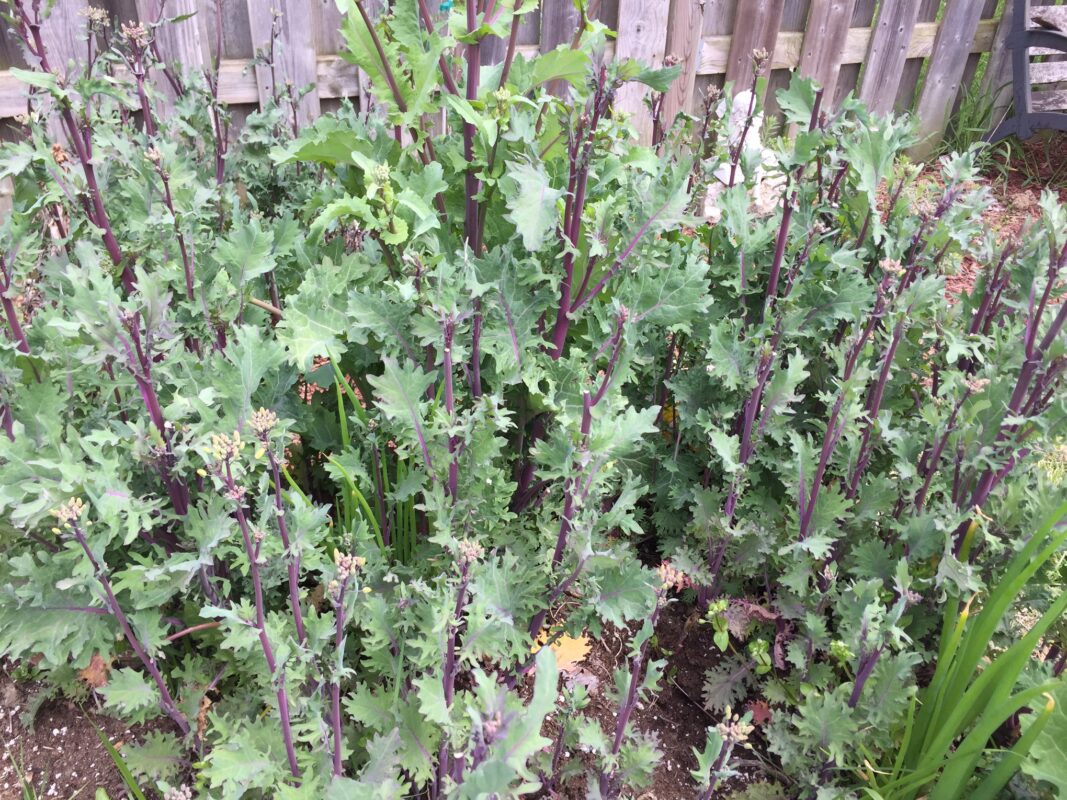
Unopened flower buds are delicious and somewhat similar to broccoli, opened flowers are also excellent eaten raw and young immature seed pods make a nice protein rich snack if you have tons growing and can afford to eat some like we do.
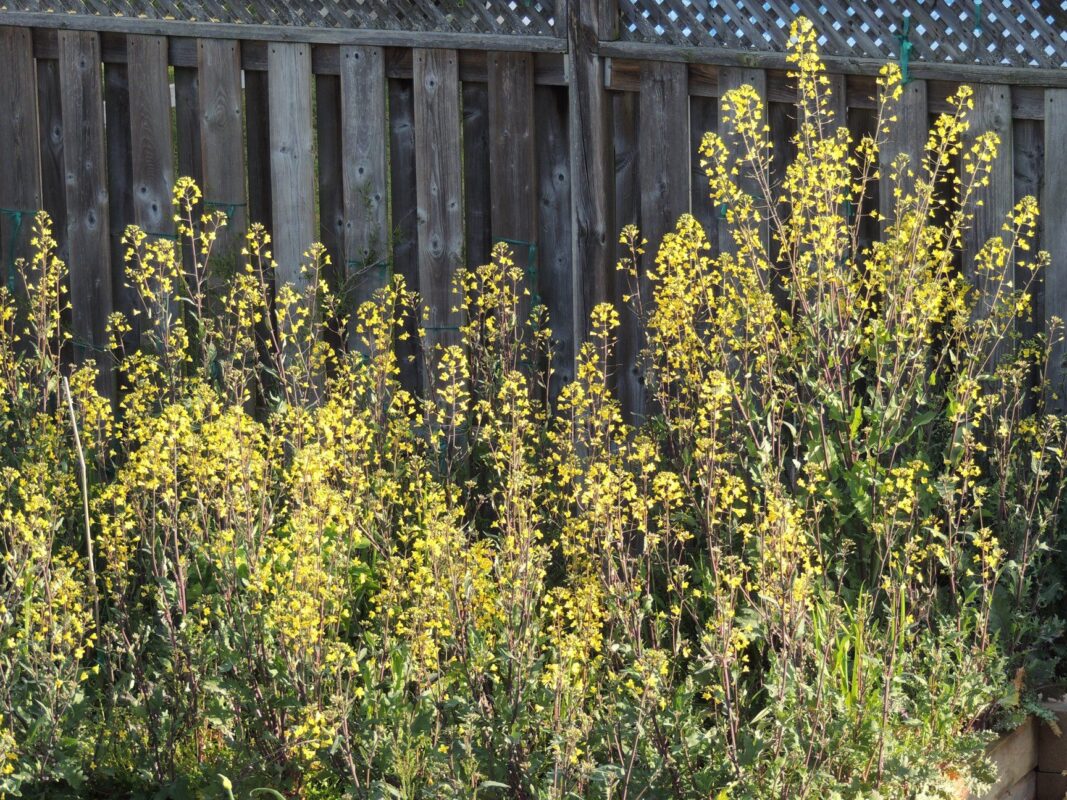
How to Save Kale Seeds:
To ensure viable seeds, save seeds from at least 5 plants. When maintaining a variety over many generations, save seeds from 20-50 plants. If you’re saving seeds for genetic preservation of a rare variety, save seeds from 80 plants.
Kale is often only grown as an annual even though kale actually a biennial (that means it has a life cycle that takes two years to complete.) In the first year, kale produces an abundance of leaves. It keeps producing leaves through the winter hardiness zones 7 through 10. In colder climate zones, (depending on variety) kale can survive deep freezes and come back from the stalk or base in the following spring all on its own, but is almost guaranteed to come back if mulched or kept under row covers.
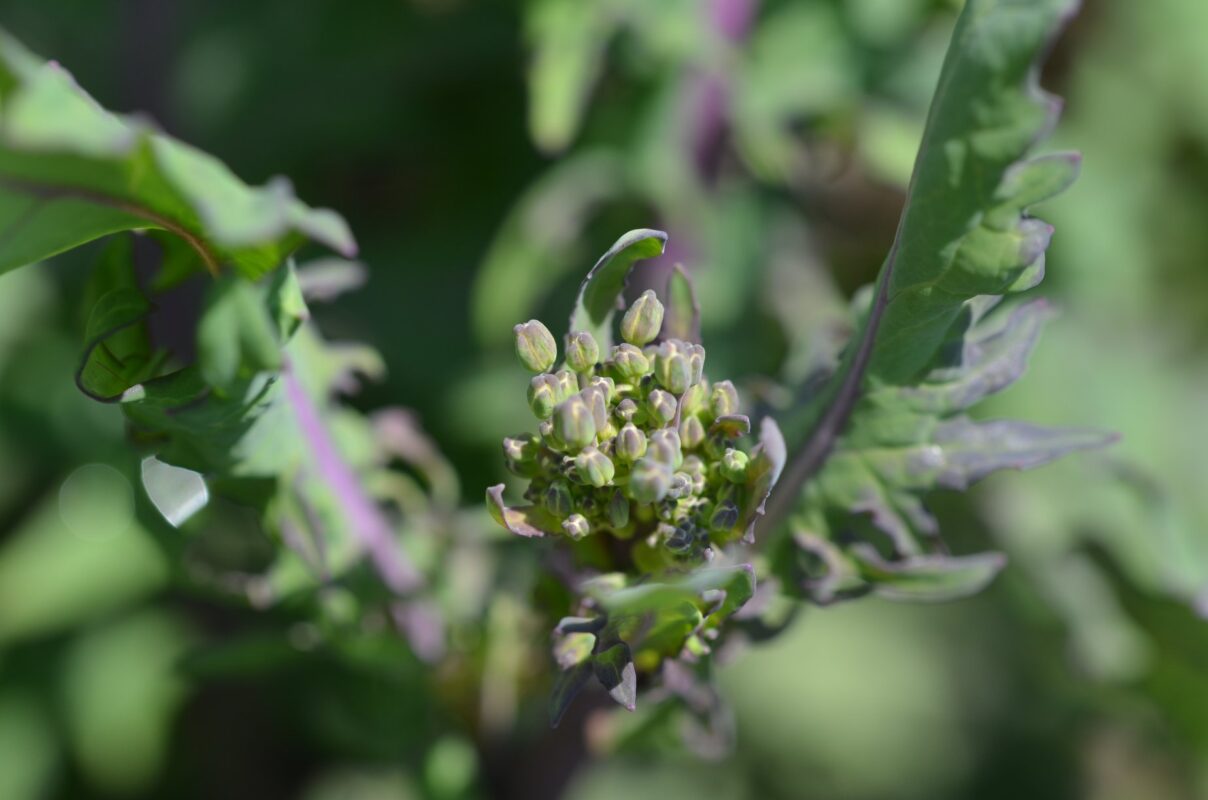
Second Year: Overwintered kale grows new leaves and sends up flower stalks with pretty yellow flowers in the spring of its second year. When the flowers die, they leave seed pods that you can break open when ripe for a new crop of kale seeds.
I like to keep pinching flower heads and eating for a month or so after they first emerge to stimulate many flower heads to multiply and then I let the plants set seed in one big wave as to optimize my seed harvesting efforts.
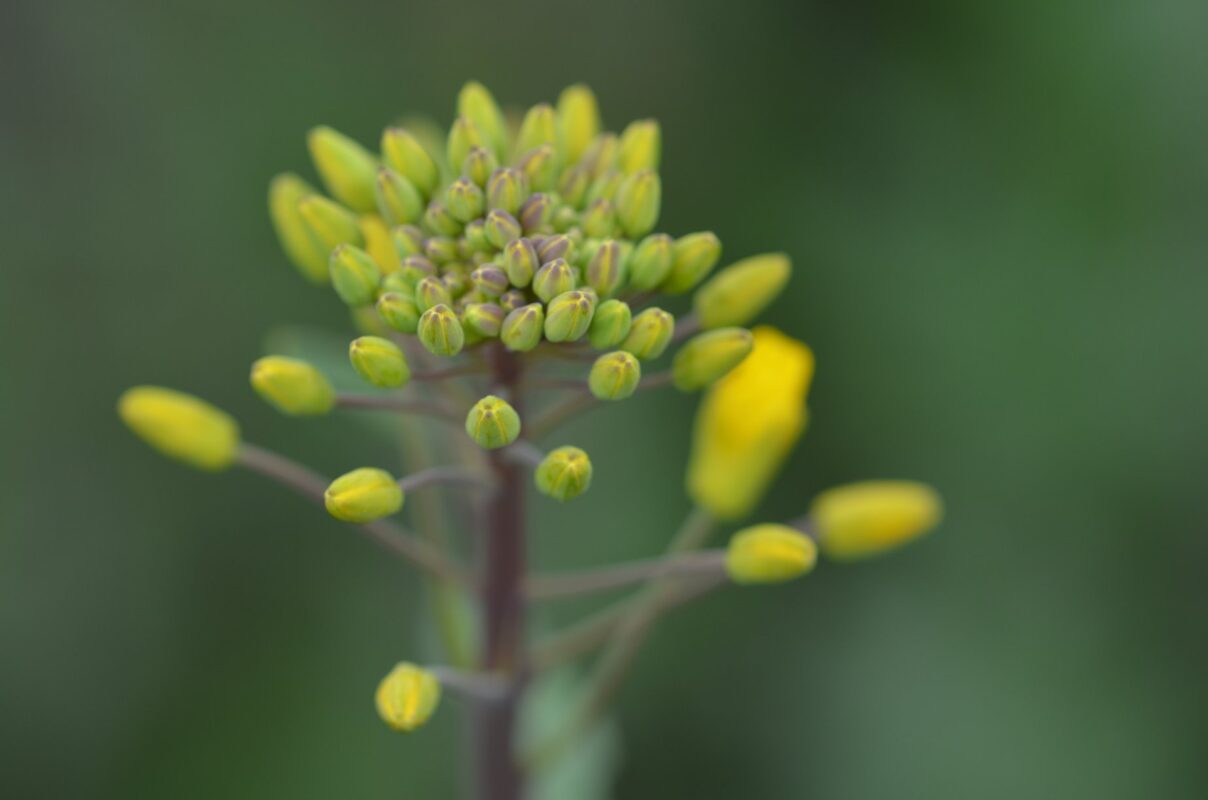
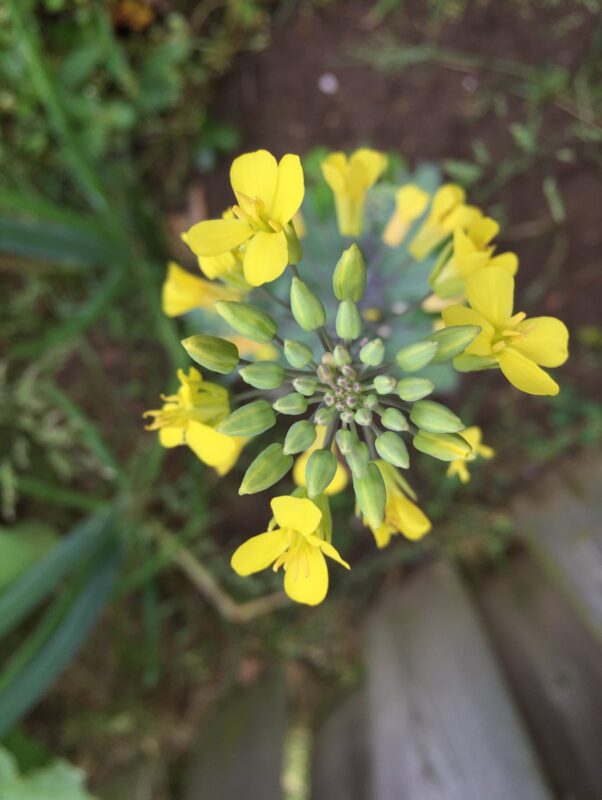
I allow the seed pods to develop and stay attached onto the plants until about 25% go dry and can be cracked open easily.
At that point I snip off the seed heads and hang in my garage upside down to dry for a couple weeks to a month before separating seeds from pods. I like to use hand shears and separate the individual pods from the stalks and then pop them open by hand on a plate so I can select the best quality seeds for continuing on my kale line. It takes some time and patience, but I find it to be a therapeutic process in the dead of winter.
If one seeks expediency and/or has a massive amount of seeds to save you can add the dried seed pods to a pillow case and then wack it with a stick for a few minutes which separates the majority of the seeds from their pods after which you can reach down to the bottom and scoop up most of the seeds with minimal debris.
Once you have separated the seeds from the pod/stalk debris to the extent of your preference you can let them sit in a cool, dark, dry place to further desiccate (for extending shelf life). After a week or two of that you can seal them in jars or bags for long term storage in a cool dark place. Adding some powderized bio-char to your seeds in their long term storage container and shaking to mix and coat seeds will increase their shelf life and viability significantly through further uniform desiccation. I have sprouted seeds after 4 years stored without bio-char and gotten 75% plus germination rates so they can last a long time if you go the extra mile and store in ideal conditions.
I hope this information helps you to feel empowered to produce a life time supply of ultra nutritious kale for yourself and your loved ones. Beyond that I hope you feel inspired to share the resulting abundance of seeds you save with friends, neighbors and strangers so that the ripple effects of the regenerative abundance you are creating in your life can spread out into your local community.
I will be sharing sneak peaks and excerpts from my book in my newsletter / blog on substack. You can sign up for the email list to be notified when I post a new blog here: https://gavinmounsey.substack.com/
If you wish to pre-order a copy of the book, that option is available here: https://recipesforreciprocity.com/shop/preorder/
